
Are you feeling lonely? Has your better half left the Town for the weekend? Or maybe you have some free time on your hands and wish to occupy them with something? If the answer is “Yes, but how do I start on the path to handcraft glory?” you’re in the right place.
For my weekend Project I decided to share with you my know-how on crafting various aids for tabletop games that you so love. When you get a new game it often turns out that all the elements are mixed inside the box for a lack of compartments and the tokens scatter all over the table because there’s no box to hold them and you have to bind your cards with a rubber band because no one thought about including a tuckbox.. And those are just the elements that help you keep your game orderly, ease transport and preparation. You might also want to make something that’ll make your game easier/ smoother/ prettier – like your own dice tower, a token bag, or your own custom made dice. Or maybe you just saw a really nice print-and-play game somewhere and you want to try it out?
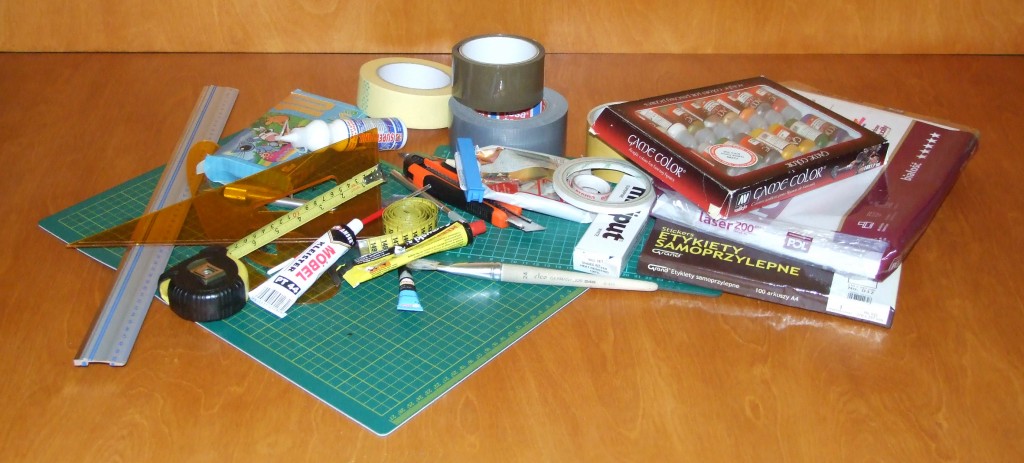
Where do we start? Start with what exactly you want to do. Once that part is out of the way, you can move to step two – gathering the materials necessary for that project. That way your workshop will gradually expand, change and adapt to your needs. Sometimes you might not know what you need because you never tried this sort of thing – and here’s where I come in and demonstrate the things that I personally use. Hopefully you will find them useful as well.
Things to plan your idea with:
- Pen and paper – for notes and quick sketches. Notebooks work out better than loose sheets as they help you keep your notes orderly and in one place
- Computer and software – may seem obvious to most, but people often forget that those boxes have more uses than porn, games, and facebook:
- Gimp – freeware – a nice and simple program that allows you to easily prepare things for print
- Blender – freeware again – not as easy but the basics can be learned in a couple of hours. It’ll allow you to verify the look of the thing you’re actually trying to build if it’s more complex than a simple doodle on a page
„Heavy” equipement – machines to do part of the work for you
- Scanner – if you want your end result visually consistent with the game and can’t find the images you need on the Internet. Canon Lide 120 works for me.
- Printer – when you have a ready paper project. Laser colour printers are my personal preference, first, because the quality is usually not far from the original and second, because they’re usually cheaper to use than ink printers. I’ve been using Oki C301dn for a couple of years now and I’m loving it.
- Print shop – if you don’t have your own printer or need something in a larger format. The varying prices may be an obvious disadvantage
„Light” equipement – tools of the trade
- Cutting boards – best to use different formats – currently I’m using A5, A4 and A3
- Paper clips/ holders of all kinds
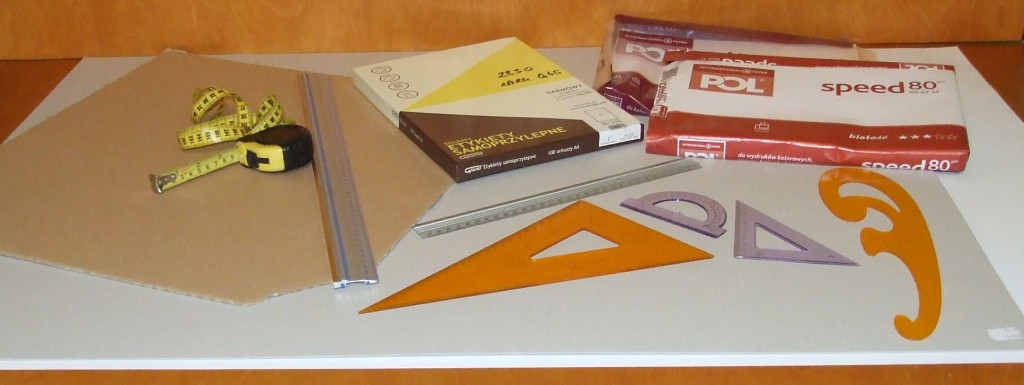
- Measuring tools
- Tape measures – as long as they have both milimetres and inches
- Aluminium/ steel rulers – best to have several in varying sizes
- Setsquares and protractors – as above, in varying sizes
- Pencils – H and harder
- Markers – at least one wide and one narrow
- Cutting and modeling tools:
- Knife with a retractable blade – preferably one that has a steel guide and pneumatic grip – so as not to hurt yourself while you work
- Precision knife – with interchangeable tips; when buying pay attention to what the fastener and blade are made of – preferably steel or aluminium
- Wood and metal saw – necessary if you’d like to do some woodwork
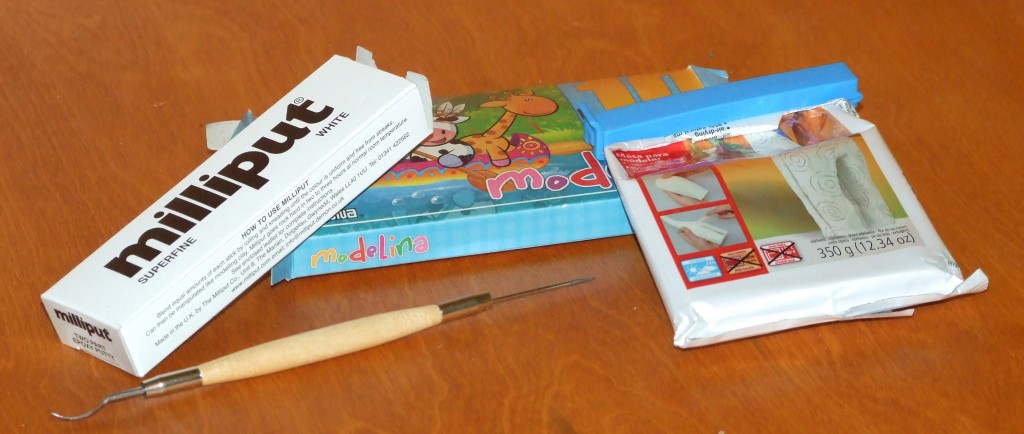
- Sculpting tool – with a spike on one end and a chisel-like apatule on the other; an invaluable, amazing, multifunctional tool that can come in handy when you least expect
- Instruments for application and distribution
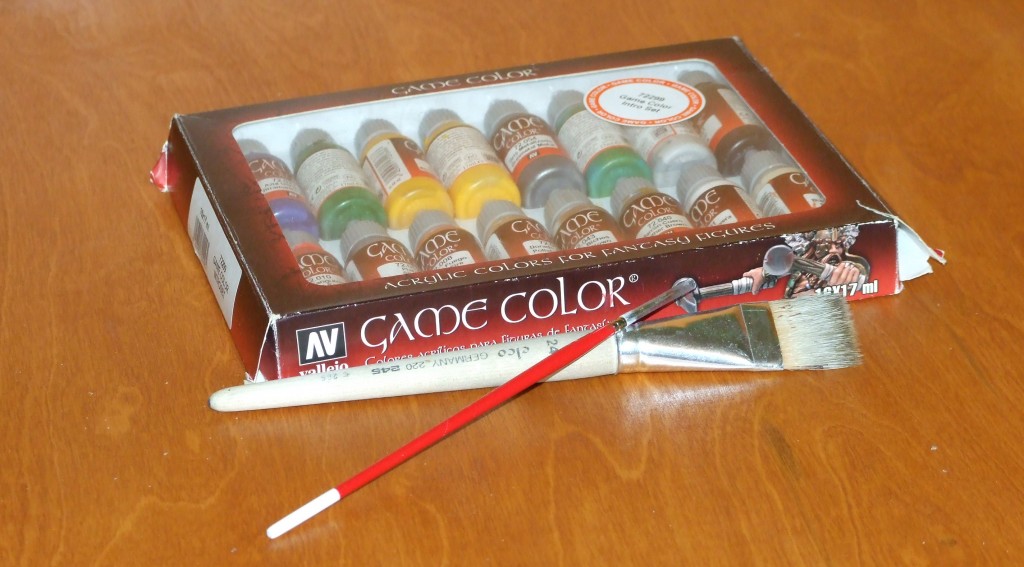
- wide flat brush (as in: 4cm wide)
- Model brush 00
- Steel spatula
- “Perishables”
- Glues:
- Mobkleister (or any other brand of vicol) – great for all kinds of cardboard, makes for a great connector for boxes and, diluted with water, a good book binder
- Cobbler’s glue – for leather and plastics
- Supervinil – for lighter paper connectors (tuckboxes, tokens, etc.)
- Superglue – quick and effective
- Tapes
- Ducktape
- Transparent office tape
- Paper tape
- Wide and narrow two-sided tape
- Blades
- Break-off blades – for both the precision and modeling knife
- Precision blades
- Small saw – might come in handy
- Paints – any basic set of Valejo Paints will do
- Glues:
Materials
- I love paper. You can make anything you want out of paper
- A ream of 80 g/m2 printer paper – for everything
- A ream of 200 g/m2 colour laser – small boxes, additional gaming aids etc.
- A ream of self-adhesive labels – when you need to cover something quickly and without glue
- Business card paper – stiffest and most rigid of the previously mentioned, perfectly suited to playing cards; sometimes you can get a pearlescent version; unfortunately it holds glue rather poorly
- 100×70 paper – available in various colours, good as cover for large boxes
- 100×70 1,5 or 2 mm solid cardboard base for all tokens, large boxes and markers
- Single-layer cardboard – I get mine from pizza boxes; Great for compartments inside boxes; very light, which is another advantage
- Wood – all kinds of small wooden lathes for tokens and pawns
- Plastic mass:
- Plasticine – good as test material for figures and models
- Self-hardening mass – best for molds but can be used to make tokens and figures
- Miliputsuperfine – a cheaper version of greenstuff; personally I use it for casts; after it partially hardens it’s still elastic enough to smoothly get out of the mold
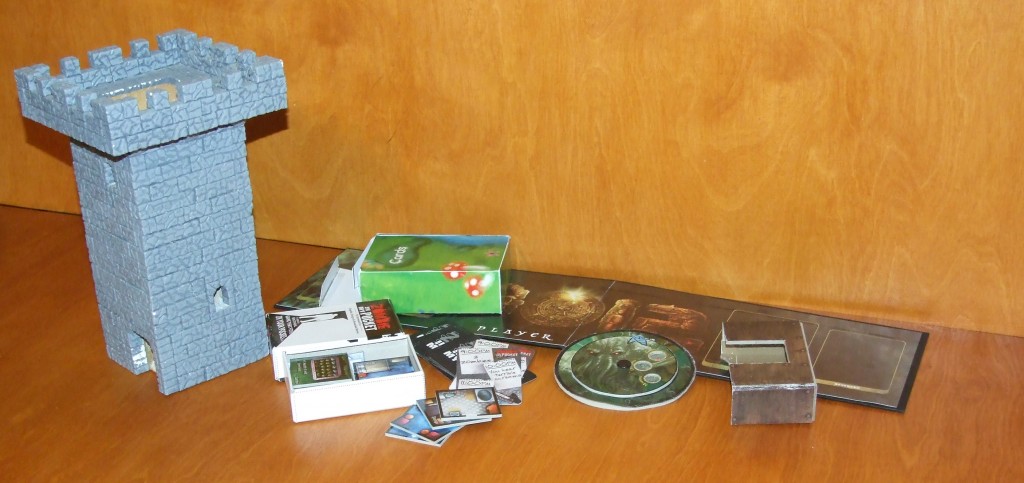
And that would be it. The above mentioned supplies should be more than enough for most Project you can think of. I’d like to also mention that I’ll try to update the “Download” section with some of my finished projects – so make sure to check it out from time to time. If you feel that the mini-workshop above is missing some crucial element, let me know. And if you have any of your own finished projects you’d like to share with the other readers – feel free to post them.
